การเขียนโปรแกรมเองจะมีความไม่สะดวกอยู่บ้าง อีกทั้งการสร้างโปรแกรมให้มีคุณสมบัติเหมือนกับซอฟต์แวร์อย่าง scrot ย่อมใช้เวลานาน แต่ก็มีข้อดีคือเราสามารถกำหนดคุณสมบัติที่แตกต่างได้ เช่น การนำส่งภาพผ่านอินเตอร์เน็ต เป็นต้น
มีหลายวิธีสำหรับภาษา Python ที่ใช้จับภาพหน้าจอ แต่ทั้งหมดจะอาศัย Python Image Library (PIL) เป็นพื้นฐาน ตัวที่ผมจะใช้งานในคราวนี้คือ pyscreenshot ครับ ใช้งานง่าย เขียนโปรแกรก็สั้นมาก เราสามารถดึงเอาคุณสมบัติของ PIL มาใช้ประยุกต์กับงานได้อีกด้วย
ติดตั้ง
1. ติดตั้ง pip (หากไม่เคยติดตั้งมาก่อน)
$ sudo apt-get install python-pip
2. ติดตั้ง pyscreenshot
$ sudo pip install pyscreenshot
หมายเหตุ บางเอกสารอาจแนะนำให้ติดตั้ง python-pil ด้วย แต่เนื่องจาก python-pil เป็น standard library และมีการติดตั้งมาพร้อมแล้วใน Raspian ทุกรุ่นแล้ว จึงข้ามขั้นตอนนี้ไปได้
เขียนโปรแกรมกัน
1. ต้องการเก็บภาพทั้งจอเลย
import pyscreenshot as ImageGrab

# capture entire screen
im = ImageGrab.grab()
im.show()
2. ต้องการเก็บบางส่วน
import pyscreenshot as ImageGrab

# define part of screen
box = (10,10,500,500)

# capture  part of screen
im = ImageGrab.grab(box)
im.show()
3. ต้องการเก็บไว้ในไฟล์
import pyscreenshot as ImageGrab

# capture entire screen
im = ImageGrab.grab()
im.save("entir_screen.jpg","JPEG")
4. ต้องการเก็บภาพอ้างอิงกับเวลา
import pyscreenshot as ImageGrab
import time

box = (10,10,500,500)
fname = "screen_shot_"+time.strftime("%Y_%m_%d_%H_%M_%S")+".jpg"
im = ImageGrab.grab(box)
im.save(fname,"JPEG")
5. ต้องการเก็บภาพตามเวลา (time interval)
import pyscreenshot as ImageGrab
import time
box = (10,10,500,500)
for t in range(3) :
fname = "screen_shot_"+time.strftime("%Y_%m_%d_%H_%M_%S")+".jpg"
im = ImageGrab.grab(box)
im.save(fname,"JPEG")
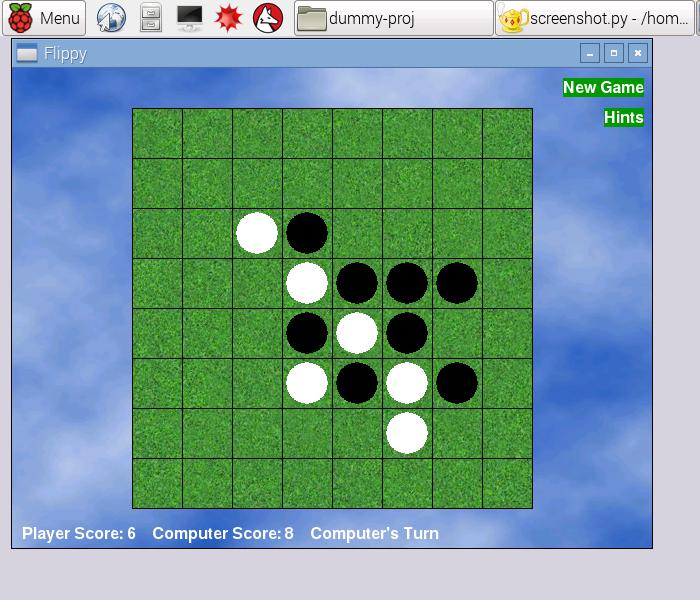
time.sleep(1) ตัวอย่างภาพ


[1] http://thepihut.com/blogs/raspberry-pi-tutorials/16018008-how-to-take-screenshots-on-the-raspberry-pi
[2] http://www.raspberrypi-spy.co.uk/2013/10/how-to-take-screenshots-on-the-raspberry-pi/
Sign up here with your email
ConversionConversion EmoticonEmoticon